

Believe it or not, putting together a solid football recording setup for under £500 is completely achievable. For most grassroots teams, the magic combination is a quality action camera, a tall and sturdy tripod, and a beefy power bank. This trio gets you fantastic video quality without the headache and cost of professional broadcast gear.
Your Guide to a £500 Match Recording Kit

Ready to capture every goal, crunching tackle, and clever tactical switch without emptying the club's bank account? This guide is your straightforward shopping list for building a reliable, high-quality recording setup for less than £500. I'll skip the confusing tech jargon and get straight to the practical advice.
Think of this as your starting point. My goal is to show you that professional-looking match footage is well within your grasp, even on a tight budget. Let's demystify the process and build a solid plan.
The Core Components You Can't Skimp On
To get started, we need to focus the budget on four absolutely essential areas. Get these right, and you'll have footage that's stable, clear, and captures the entire match.
- Camera: The heart of your setup and where a good chunk of your budget should go. We're looking for decent resolution, a smooth frame rate, and a wide-angle lens to capture the whole pitch.
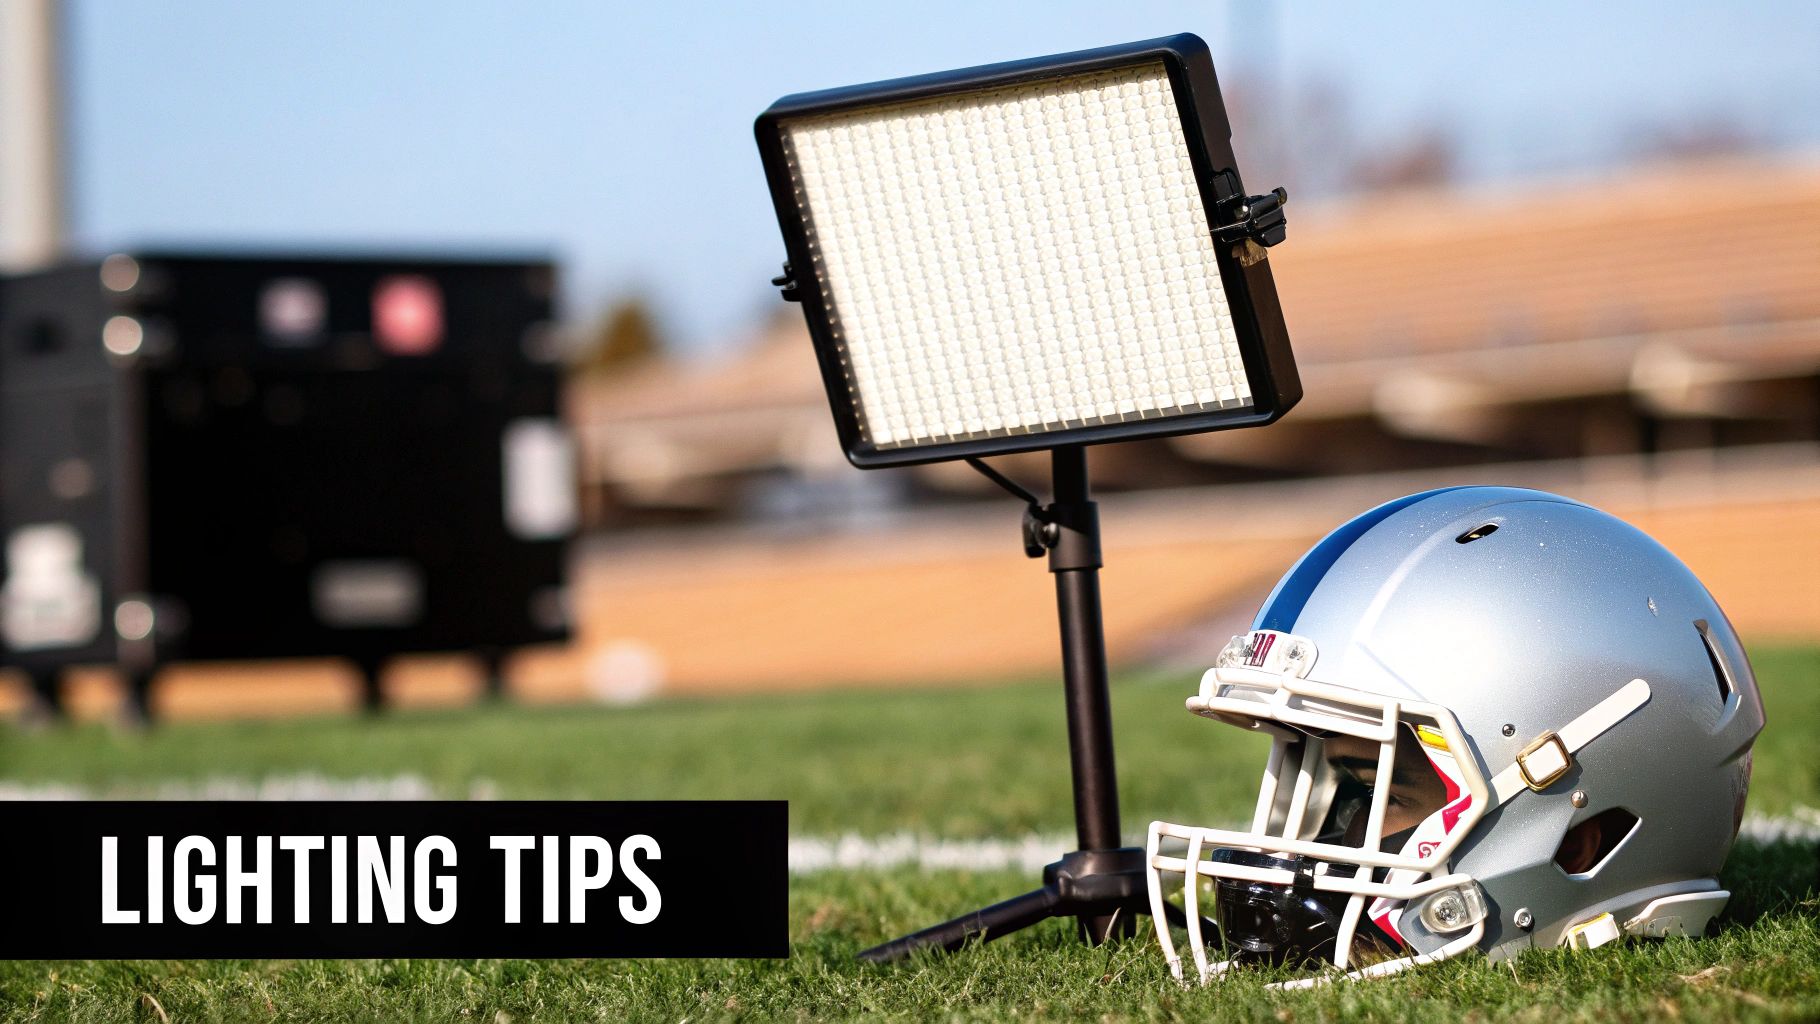
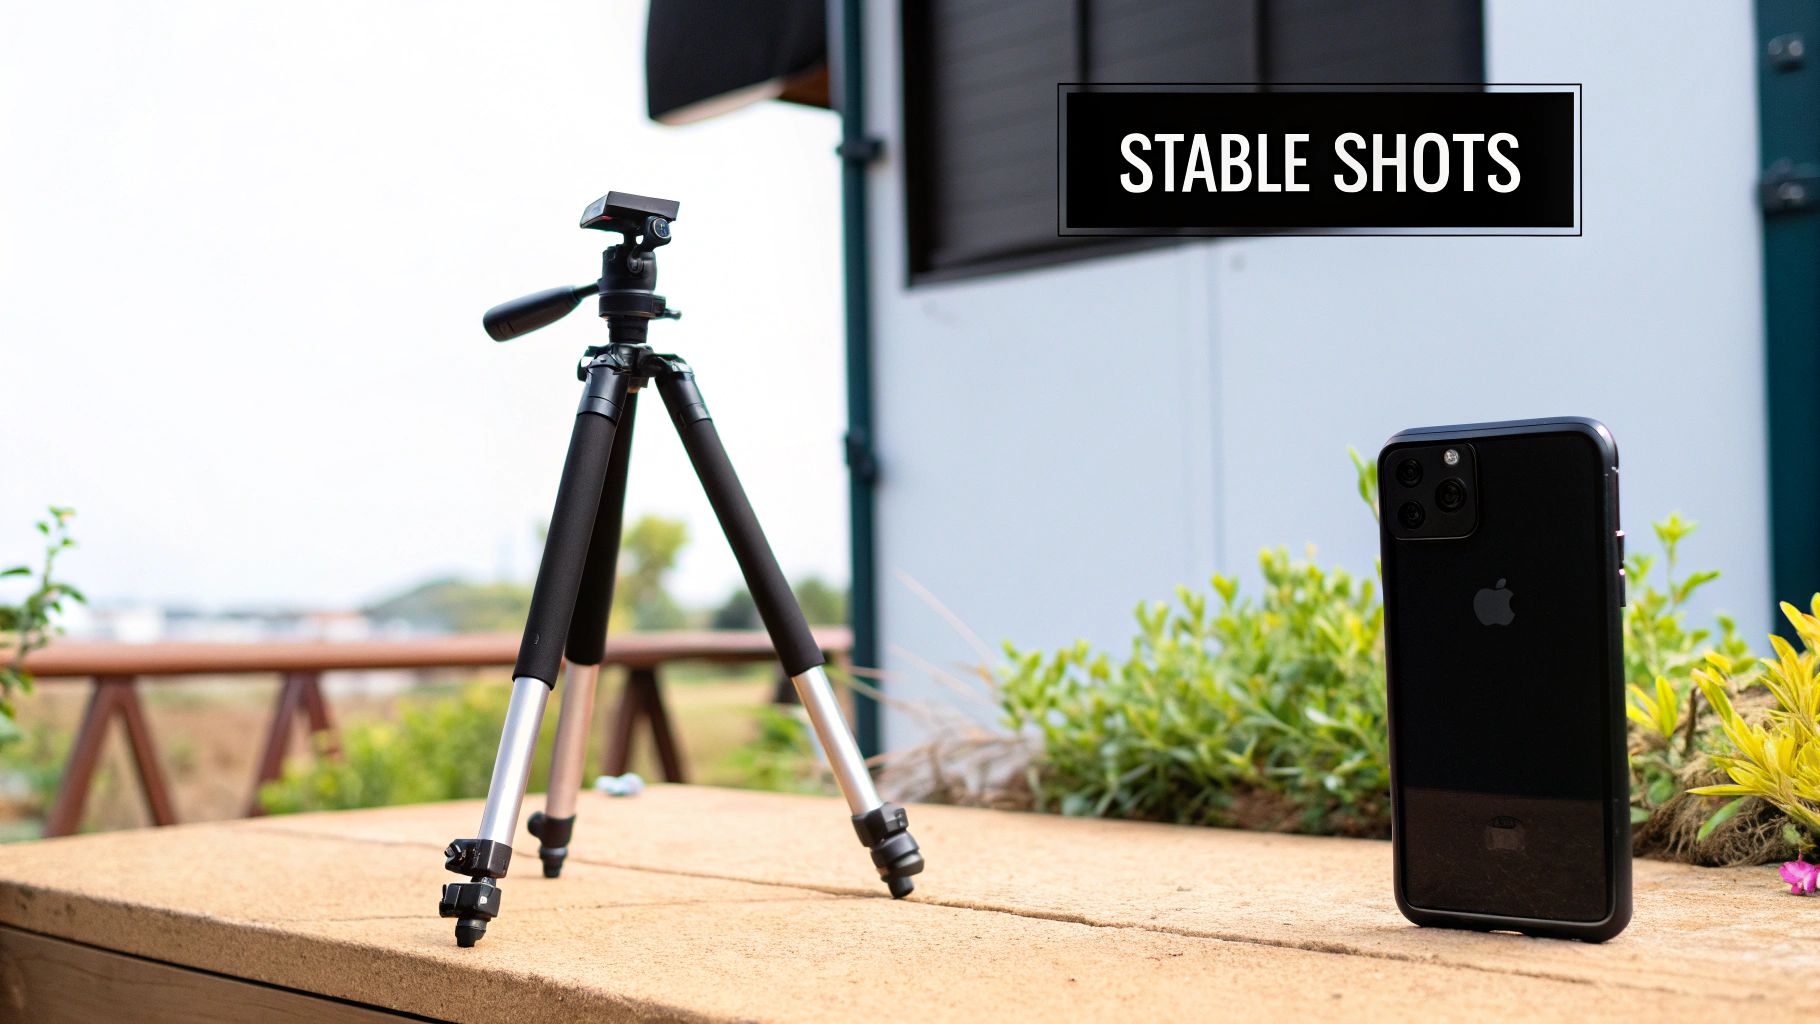
- Tripod/Mount: Stability is non-negotiable. A wobbly camera is a waste of time. You need a tall, sturdy tripod to get that elevated, panoramic view essential for proper tactical analysis.
- Power: A dead battery at half-time is the ultimate disaster. A reliable, high-capacity power bank or a couple of spare batteries are must-haves for filming the full 90 minutes plus extra time.
- Storage: High-quality video eats up space. A fast, high-capacity memory card is crucial to ensure you don't run out of room or, even worse, get recording errors mid-game.
Nailing this foundation helps you sidestep common mistakes like shaky footage or missing the last 20 minutes of a nail-biting finish.
A classic mistake is blowing the entire budget on a fancy camera, only to realise the tripod is too short to see over the dugout or the battery dies after 60 minutes. A balanced spend across all components is the real key to a setup that just works.
A Sample Budget Breakdown for Your £500 Football Recording Kit
So, how should you split your cash? Allocating your funds wisely is the most important step here, ensuring you get the best value from every component. Here’s a practical framework to show you how it can be done.
| Component | Recommended Budget | Key Feature to Look For |
|---|---|---|
| Camera | £250 - £300 | 1080p at 60fps, Wide-Angle Lens |
| Tripod | £80 - £120 | Minimum 3m Height, Sturdy Construction |
| Power Bank | £30 - £50 | 20,000mAh Capacity, Multiple Ports |
| Memory Card | £20 - £30 | 128GB Capacity, U3/V30 Speed Class |
| Accessories | ~£20 | Weatherproof Cover, Carry Case |
| Total | ~£450 | - |
As you can see, you can easily pull together a high-performing kit for well under the £500 mark. This even leaves a bit of wiggle room for those small but vital accessories, like a rain cover for those classic British match days. In the next sections, we’ll dive deeper into picking the best options in each of these categories.
Choosing the Right Camera for Your Team
The camera is the heart of your best budget football recording setup under £500, but picking the right one can feel like a minefield. With so many options out there, it’s easy to get bogged down in technical jargon. The trick is to focus on what actually matters for filming a football match: a wide view, smooth motion, and rock-solid reliability.
Let’s break down the main contenders for a sub-£500 budget.
Action Cameras vs Camcorders vs Smartphones
Each type of camera brings something different to the table when you’re filming from the sideline. Your final choice will probably come down to what you prioritise most—whether that’s pure video quality, ease of use, or just making the most of the gear you already have.
- Action Cameras (e.g., GoPro, DJI Osmo): For most teams, these are the best bet. They’re compact, tough as old boots, and come with a wide-angle lens that’s perfect for capturing the whole pitch. Crucially, their high frame rate options are brilliant for fast-paced sport.
- Traditional Camcorders: While they can be a bit bulky, camcorders offer fantastic optical zoom and often have much better battery life. You can pick up a great second-hand model on a budget, but just make sure it can record at 60 frames per second (fps) for that silky-smooth playback.
- Modern Smartphones: Never underestimate the power in your pocket. Top-end phones have incredible cameras, but relying on one for 90 minutes means it’s out of action for anything else. Battery drain and storage space are also major headaches for a full match.
For the vast majority of grassroots teams, an action camera hits the sweet spot between quality, durability, and a pitch-friendly wide view.
Key Specs That Actually Matter for Football
When you're comparing models, try to ignore the marketing fluff and zone in on these three critical features. Getting these right will make a much bigger difference to your final footage than any flashy buzzwords.
1. Frame Rate (60fps is a Game-Changer)
Frame rate, measured in frames per second (fps), dictates how smoothly motion is captured. While 30fps is fine for a lot of videos, football is all about explosive, fast movement. Recording at 60fps ensures that a quick sprint, a zipped pass, or a goalmouth scramble looks crisp and clear on playback, which is vital for proper analysis.
2. Low-Light Performance
A gloomy Saturday afternoon in November can absolutely ruin video quality. Look for cameras with a larger sensor or hunt for reviews that mention good "low-light performance." This will ensure your footage is still usable even when the British weather refuses to play ball, preventing it from becoming a dark, grainy mess.
3. Battery Life and Charging Options
It sounds obvious, but your camera has to last the entire match, plus half-time and any potential extra time. Check the manufacturer's stated battery life for continuous recording. More importantly, make sure the camera can be powered via a USB-C cable while it's recording. This is a lifesaver, as it lets you hook up a simple power bank for practically unlimited runtime.
Don't get fixated on 4K resolution. A crisp, stable 1080p recording at 60fps is far more valuable for tactical analysis than a shaky 4K recording at 30fps. Smooth motion beats ultra-high definition every time on a budget.
The good news is that the under-£500 market has exploded in recent years, making top quality much more accessible. The average price of a 4K action camera suitable for sideline recording in the UK has dropped from over £400 in 2018 to around £250–£300 in 2024, putting fantastic quality well within reach for small clubs.
Ultimately, the best camera is one that reliably captures the action you need. If you're thinking about a more hands-off, automated approach, it's worth checking out our guide on the best AI sports camera for an interesting comparison.
Finding the Best Mounts, Tripods, and Power Banks
Let's be honest, even the fanciest camera is useless if it’s pointing at the clouds or the battery dies just before a last-minute winner. The accessories you pair with your camera are every bit as important as the camera itself. They provide the stability and juice needed to capture the full 90 minutes without a hitch.
Getting these supporting acts right is the difference between having great, usable match footage and a frustrating waste of your Saturday afternoon.
Choosing a Tripod Built for the Sidelines
Your tripod is probably the most critical bit of kit in your bag. Shaky, low-angle footage from the touchline is impossible to analyse properly. To see formations, player movements, and the bigger tactical picture, you need an elevated, panoramic view. Height is non-negotiable.
When you're shopping for a tripod, look for one that extends to at least 3 metres (around 10 feet). This is the sweet spot. It gets the camera well above everyone's heads, giving you that essential tactical view of the entire pitch without spectators or stray dogs wandering in front of the lens.
Stability is the other huge factor. A flimsy tripod that wobbles in the wind will ruin your recording. Look out for a few key features that add sturdiness:
- Thick Leg Sections: Wider, more robust legs create a solid, trustworthy base.
- Centre Column Hook: A brilliant little feature that lets you hang a weighted bag (your kit bag is perfect) for extra stability on those blustery days.
- Fluid Head: If you plan on following the play, a fluid head allows for silky-smooth panning. For a static wide shot, though, a simple pan-and-tilt head will do the job just fine.
Powering Your Setup for the Full Match
There's nothing more infuriating than seeing your camera's red light blink off mid-match. Most action cameras just won't last a full game on their internal battery alone, especially if you're recording at higher frame rates. This makes an external power source an absolute must-have.
A 20,000mAh power bank is your best friend here. It has more than enough capacity to keep an action camera running for several hours. Just make sure the camera you choose supports pass-through charging, meaning it can record while being powered up via its USB-C port. For total peace of mind, I always have a couple of fully charged spare batteries in my bag, too. It’s a smart backup strategy.
Don't Forget the Memory Card
The final piece of this puzzle is the memory card. And it’s not just about how much footage you can store—write speed is absolutely critical.
Recording high-resolution video, particularly at 60fps, creates a massive amount of data very quickly. A slow card simply can't keep up. This can lead to dropped frames, stuttering video, or the camera just giving up and stopping the recording altogether.
To avoid those dreaded recording errors, always choose a memory card with a U3 or V30 speed rating. A 128GB card gives you plenty of space for several matches, but prioritising that write speed ensures your footage is captured smoothly without any technical dramas.
The rise of tactical analysis apps has really fuelled the demand for these kinds of accessories. With an estimated 40% of UK amateur teams now using smartphone-based apps for tactical analysis, the appetite for low-cost, reliable tech in grassroots football has never been higher. This, in turn, is driving sales of compatible gear like the tripods and power banks we've talked about.
For a deeper dive, you can check out our guide on the best accessories for football recording cameras, where we cover even more options to complete your setup.
How to Set Up Your Gear for the Perfect Shot
You’ve got your kit sorted. Now for the bit where almost everyone goes wrong—positioning.
Let me be blunt: where you place your camera is everything. I've seen teams with fantastic cameras get completely useless footage simply because they set up in a poor location. Getting this right is what turns a simple recording into a powerful analysis tool.
A bad angle makes it impossible to analyse team shape, player movement, and tactical decisions. You lose the bigger picture, which is the entire point of building a best budget football recording setup under £500. Let’s walk through the best spots to set up camp on match day.
Finding the Perfect Vantage Point
For tactical analysis, the ideal location is almost always high up and near the halfway line. This gives you that classic, side-on broadcast view of the entire pitch, letting you see both teams’ formations clearly. There’s a reason Match of the Day looks the way it does—it works.
If your ground has a gantry or a stand, you’re golden. Use it. That height is invaluable and solves most of your problems instantly. For most grassroots clubs, though, the answer is a tall tripod.
Here’s a quick breakdown of where to set up:
- Halfway Line (Elevated): The gold standard. It captures the full width of the pitch and shows the all-important distances between your defensive, midfield, and forward lines. This is the view coaches dream of.
- Behind the Goal: This can be useful for analysing a keeper’s positioning or for specific attacking drills in training. For a full match, though, it’s a terrible angle. The perspective flattens the pitch, making proper tactical analysis a nightmare.
- Corner Flag: Just don't. Avoid this at all costs. It gives you a heavily distorted view and is constantly blocked by players, the flag itself, and the occasional linesman wandering into shot.
Common Setup Mistakes to Avoid
Even if you’ve found the perfect spot, a few simple mistakes can still ruin your footage. Getting these details right before kick-off will save you a world of frustration later.
One of the biggest culprits is the sun. Always, always try to position the camera with the sun behind it. Filming into direct sunlight creates silhouettes, making it hard to distinguish players and washing out the colours of the kits. On a sunny day, this simple check is a game-changer.
Another classic error is framing. Don't be tempted to zoom in too tightly on the ball. The goal here is to capture as much of the pitch as possible so you can see how players move in relation to each other. For analysis, a wide shot is your best friend.
The single most effective tip I can give you is to get some height. Your aim should be to get the camera at least 3-4 metres off the ground. This height not only gives you that crucial tactical overview but also minimises the chance of a spectator walking right in front of your lens mid-attack.
Finally, a bit of practical advice: be prepared for the weather. On a windy day, hang your kit bag from the tripod’s centre column. The extra weight adds stability and stops it from wobbling. If rain is forecast, a cheap rain cover or even a sturdy plastic bag can protect your investment and ensure you don’t miss a single minute.
For an even more detailed walkthrough, our guide on how to record your football matches like a pro offers extra tips and techniques to really master your setup.
Two Complete Recording Kits Under £500
Right, let's turn theory into practice. To show you exactly how this all comes together, I’ve put together two shopping lists. Think of them as complete, ready-to-go kits that get fantastic results while staying well under the £500 mark.
One kit is built to squeeze every drop of video quality out of the budget, while the other is all about portability—perfect for the coach who needs to grab their gear and go without a fuss. Seeing them side-by-side should help you nail down your own best budget football recording setup under £500.
Example Football Recording Kits Under £500
To give you a clearer picture, here’s a table comparing the two approaches we’re about to break down. One focuses purely on getting the sharpest image, the other on being as lightweight and convenient as possible.
| Component | Option A (Quality Focus) | Option B (Portability Focus) |
|---|---|---|
| Camera | Flagship action cam (~£280) | Mid-range action cam (~£220) |
| Tripod | Heavy-duty 3.5m aluminium (~£100) | Lightweight 3m travel tripod (~£80) |
| Power Bank | 20,000mAh fast-charging (~£40) | 15,000mAh slimline (~£30) |
| Memory Card | 128GB U3/V30 microSD (~£30) | 128GB U3/V30 microSD (~£20) |
| Accessories | Weatherproof case & bag (~£20) | Silicone cover & simple bag (~£15) |
| Total Cost | ~£470 | ~£365 |
As you can see, a few smart choices can drastically change the final cost and usability of your kit. Both are great options, but they serve slightly different needs.
Kit A: The Quality-Focused Setup
This setup is for the team that wants the absolute best footage for tactical analysis. We're allocating a bigger slice of the budget to a top-tier action camera known for a superior sensor and high-bitrate recording. This ensures your footage is crisp and clear, even when you're zooming in on a player's positioning post-match.
- Camera (£280): Go for a flagship action camera from a big name. You're looking for 4K at 60fps, brilliant image stabilisation, and solid low-light performance.
- Tripod (£100): A heavy-duty, tall aluminium tripod that reaches at least 3.5 metres. Stability is everything here, ensuring zero wobble, even on a windy day.
- Power Bank (£40): A beefy 20,000mAh power bank with fast-charging is a must to keep a power-hungry 4K camera running for the full 90 minutes and beyond.
- Memory Card (£30): A 128GB U3/V30-rated microSD card from a trusted brand. Don't cheap out here—4K recording demands it.
- Accessories (£20): A proper weatherproof housing for the camera and a sturdy carry case to protect your investment.
This combination pushes close to the £470 mark, but trust me, the footage it produces punches well above its price tag. It’s perfect for serious analysis.
Kit B: The Ultimate Grab-and-Go Kit
This one’s for the manager or parent volunteer who values speed and convenience above all else. It’s lighter, quicker to set up, and uses more affordable gear without a massive drop-off in the final result. Portability is the name of the game.
- Camera (£220): A solid mid-range action camera that reliably records in 1080p at 60fps. Plenty of challenger brands offer fantastic value and are often more compact.
- Tripod (£80): A lightweight carbon fibre or compact aluminium travel tripod that gets up to 3 metres. It’s a dream to carry but might need a sandbag on a blustery day.
- Power Bank (£30): A slimline 15,000mAh power bank. It’s light, easy to slip into a pocket, and provides more than enough juice.
- Memory Card (£20): A reliable 128GB U3/V30 card is still the standard. Stable recording is non-negotiable, even on a budget.
- Accessories (£15): A simple silicone camera cover and a basic drawstring bag for the tripod will do the job.
Coming in at around £365, this kit is not only much cheaper but also a heck of a lot easier to lug to away games. It proves you don't need a huge, heavy rig to get great footage.
This quick visual shows how cost and performance often stack up with recording gear.
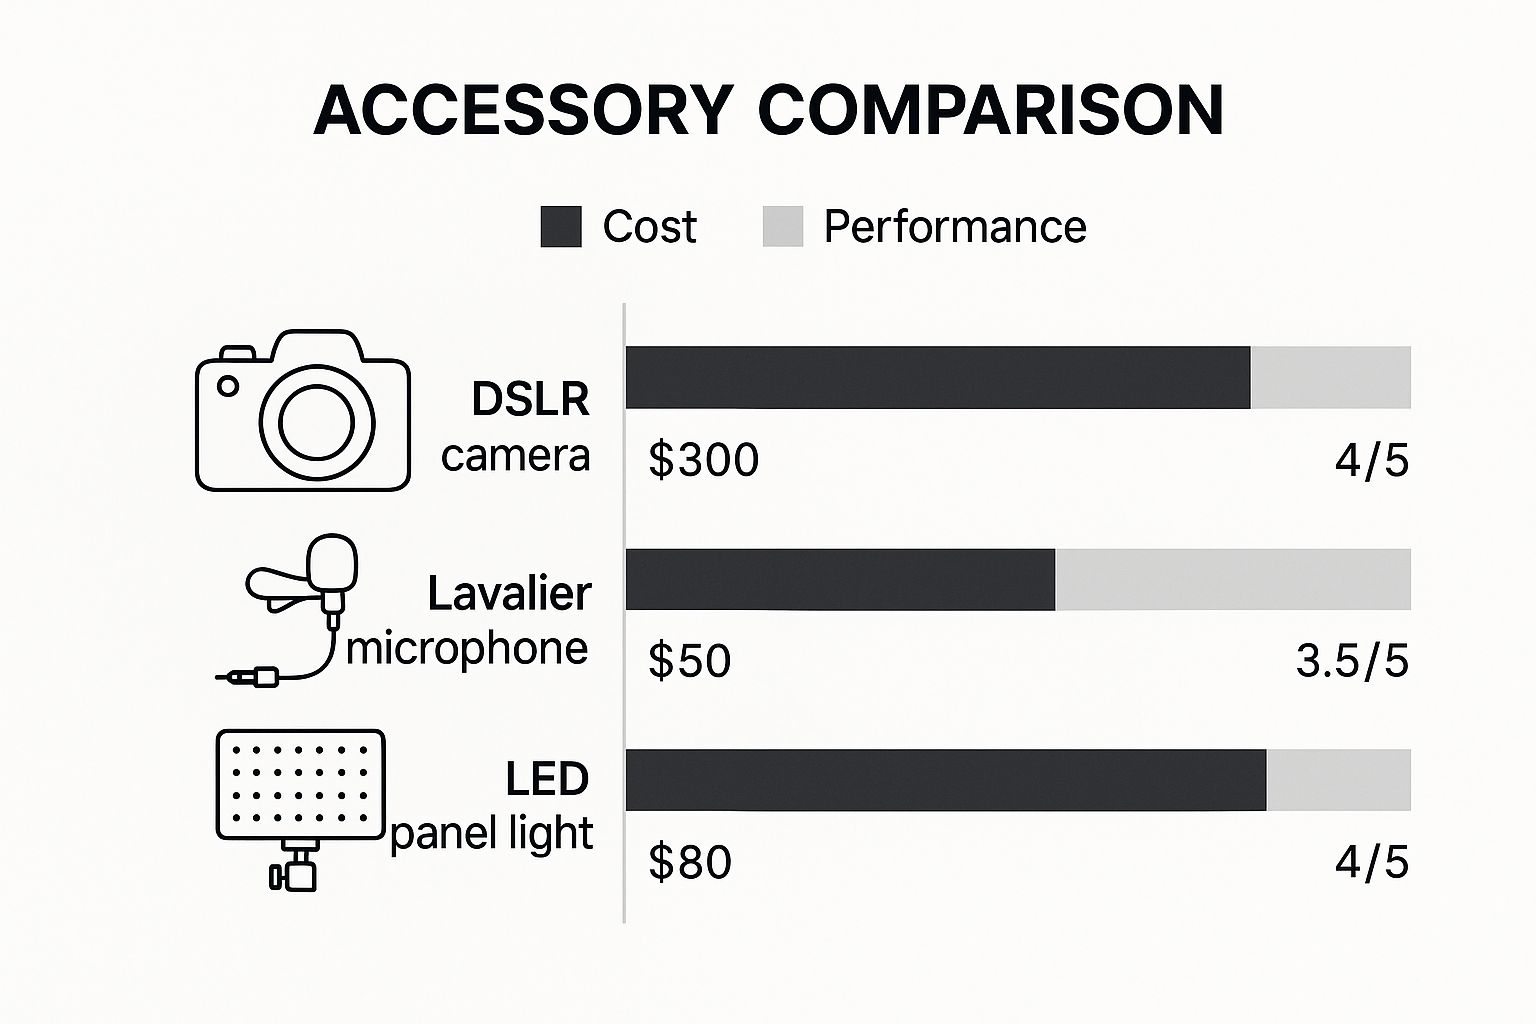
The main takeaway here is that while the camera is your biggest expense, the smaller accessories offer incredible value and performance for a relatively low cost. It really reinforces the importance of building a balanced, well-thought-out kit.
Got Questions About Your Budget Football Recording Setup?
Building your first recording setup for under £500 is exciting, but it’s natural to have a few questions buzzing around. Getting these sorted before you buy anything is the key to spending your money wisely and avoiding common pitfalls.
Let's walk through some of the most common queries we hear from coaches and clubs just starting out.
Is 1080p Good Enough, or Do I Really Need a 4K Camera?
For grassroots football analysis, 1080p at 60 frames per second (fps) is more than enough—in fact, it’s perfect. It gives you a crisp, smooth picture that's brilliant for watching back player positioning and team shape. Plus, the files won't clog up your hard drive or take forever to edit.
So, what about 4K? It's a nice bonus if you want the option to digitally zoom in on a specific player without losing quality. But be warned: 4K footage chews through storage space and demands a pretty powerful computer to handle editing without wanting to throw it out the window.
A rock-solid, stable 1080p recording is always better than a shaky, low-frame-rate 4K one. If you have to choose, sink your money into a smooth frame rate and a sturdy tripod before you worry about resolution.
What's the Best Height for My Tripod?
You're looking for that classic tactical, bird's-eye view. The sweet spot is near the halfway line, raised high enough to see the whole pitch without players blocking the action.
Aim for a height of at least 10-15 feet (that's about 3-4.5 metres). Any lower is a classic rookie mistake, and you'll spend the whole match staring at the back of the linesman's head.
If your ground is blessed with a gantry or a stand, make that your go-to spot. If not, invest in the tallest, most stable tripod you can afford. That elevation is what separates a useful recording from a useless one.
How Can I Protect My Gear When the Weather Turns?
Let's face it, a wet and windy Saturday is part of the game in the UK. Protecting your kit is non-negotiable. A simple waterproof housing or a dedicated rain cover for your camera is a cheap and incredibly smart investment. Many action cameras claim to be water-resistant, but an extra layer gives you total peace of mind when the heavens open.
Wind is the other enemy. Make sure your tripod is solid, and for extra stability, hang a weighted bag from the centre column. Your kit bag is perfect for this. It stops the tripod from wobbling and, in a worst-case scenario, prevents a gust of wind from knocking your entire setup over mid-match.
At SoccerWares, we live and breathe grassroots football. Whether you're kitting out your team with new training gear or grabbing some merch to show your support, we've got a handpicked selection just for you. Check out our full range of training essentials and fan apparel to fuel your passion for the beautiful game.