

If you want to record your football matches like a pro, it's time to think beyond your smartphone. It takes the right combination of kit, smart camera placement, and a few tried-and-tested filming techniques to capture footage that's genuinely useful for analysis and impressive enough for a highlights reel.
Let's walk through everything you need, from choosing your gear to getting that final, polished recording.
Your Essential Filming Toolkit
First things first: forget shaky phone footage that leaves everyone feeling seasick. To get professional-quality recording, you need a dedicated toolkit. The right equipment doesn't just make the final video look better; it makes the whole process smoother and more reliable, letting you focus on the action unfolding on the pitch.
The single most important piece of kit you'll own is a stable tripod paired with a fluid head. This combination is non-negotiable. It's the secret to getting those smooth, steady panning shots that look just like a professional broadcast. Without it, every camera movement will be jerky and distracting, instantly screaming "amateur hour." A sturdy base is the foundation of great footage.
Choosing Your Camera and Lens
Your camera choice will likely come down to budget, but you have some excellent options. DSLRs and mirrorless cameras deliver fantastic image quality and give you the flexibility of swapping lenses.
However, for filming a full match, dedicated camcorders are often the smarter choice. They're built to run for 90+ minutes without overheating and usually come with much better battery life. You just press record and forget about it.
Whichever camera body you pick, make sure you pair it with a decent zoom lens. A lens with a good optical zoom range is your best friend on the touchline. It lets you frame the entire pitch from a single, elevated spot, punching in for tighter shots on set-pieces without ever having to move your setup.
The goal is to create a viewing experience that feels intentional and well-produced. Investing in a few core pieces of equipment is the first and most important step towards achieving that broadcast quality.
This simple graphic breaks down the core equipment you need to get started.
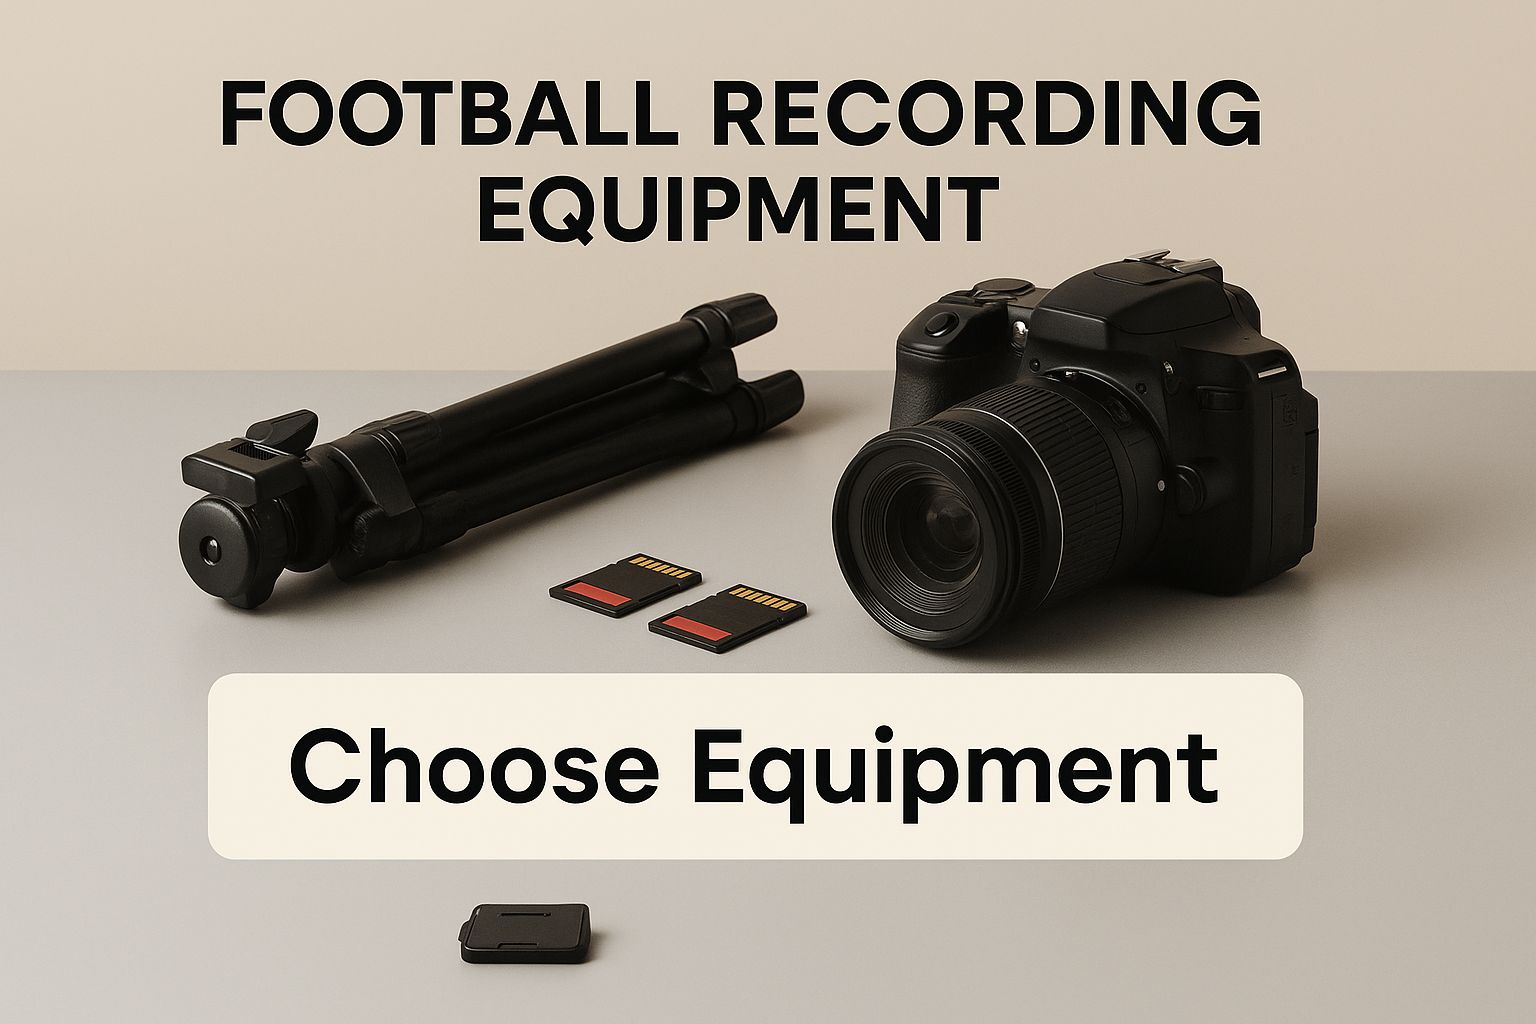
As you can see, it all starts with the camera and tripod. Get those right, and you're already halfway there.
The Small Things That Make a Big Difference
Beyond the main hardware, a few smaller accessories are absolutely vital for a successful shoot. You should always carry at least one fully charged spare battery. There’s nothing worse than your camera dying just as the winning goal is scored.
High-capacity memory cards are just as critical. You need to be sure you can record the entire match without the camera stopping halfway through the second half.
Finally, don't overlook audio. Your camera's built-in microphone is mostly good for one thing: capturing wind noise. An external shotgun microphone, protected by a fluffy windshield (often called a "dead cat"), will capture the real sounds of the game—the thud of the ball, the referee's whistle, and the shouts from the players.
Essential vs. Pro-Level Recording Equipment
To give you a clearer picture, here's a look at the gear you'll need for good-quality footage versus what the pros use for broadcast-level production.
| Equipment Category | Essential (Good Quality) | Pro-Level (Broadcast Quality) |
|---|---|---|
| Camera | 1080p HD Camcorder or Mirrorless | 4K Broadcast Camera (e.g., Sony FS7) |
| Tripod | Sturdy aluminium tripod with a fluid head | Heavy-duty carbon fibre tripod with a pro fluid head |
| Lens | Kit zoom lens (e.g., 18-135mm) | Parfocal servo zoom lens |
| Audio | On-camera shotgun microphone with a windshield | Multiple shotgun mics and ambient microphones |
| Power | 1-2 spare batteries | V-mount battery system for continuous power |
| Storage | 2 x 128GB high-speed SD cards | Multiple high-capacity CFexpress or SSD cards |
While the pro-level gear is incredible, you can achieve fantastic results with just the essential kit. The key is knowing how to use it.
To get started, using at least a 1080p HD camera with a stable tripod is essential, as this resolution brings you much closer to broadcast standards. We've found the best spot is usually an elevated angle behind the halfway line—it gives you the perfect view to capture the full pitch, player formations, and the flow of the game.
While a traditional setup gives you full control, you might also be interested in our guide on the best AI sports cameras for 2025 which handle all the tracking and recording for you.
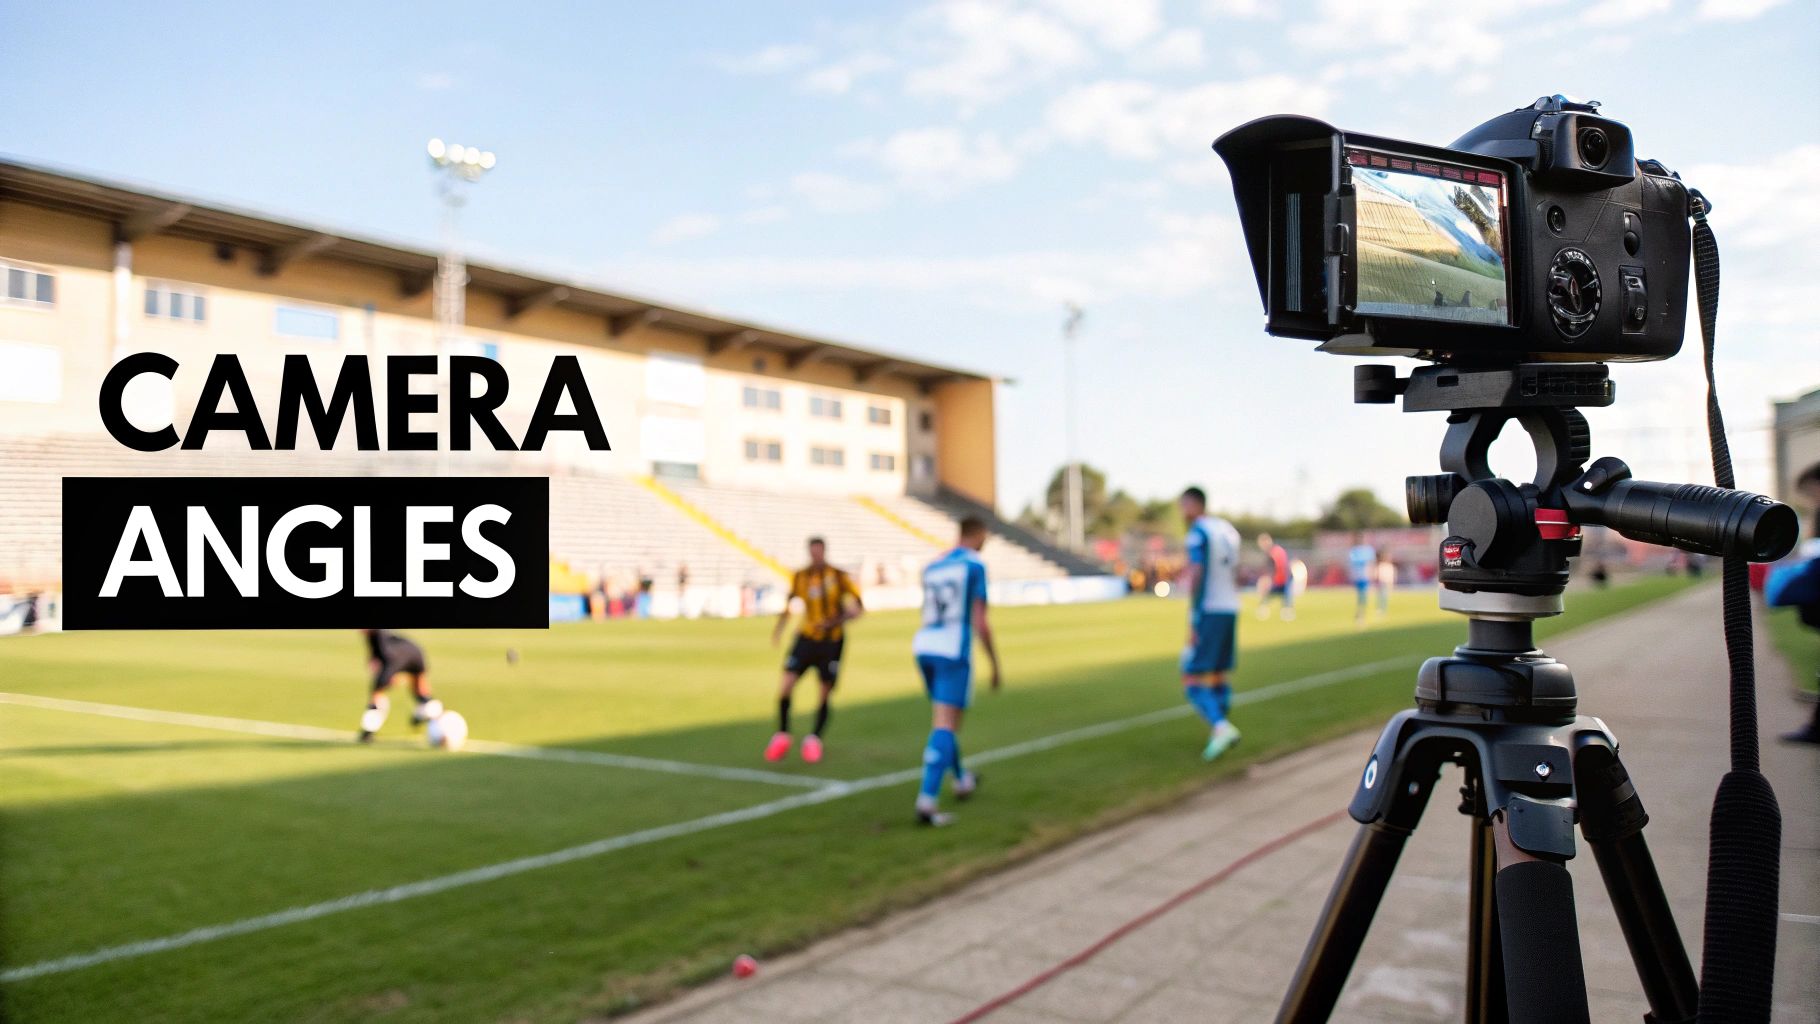
Finding the Perfect Camera Position
The secret to professional-looking football footage isn't just about the equipment you use; it's about where you put it. Pointing a camera towards the pitch from the sideline simply won't cut it. To record your matches like a pro, you need to think like a broadcast director, hunting for the best possible vantage point to capture the tactical flow of the game.
There's a good reason why professional broadcasts almost always film from an elevated, central spot near the halfway line. This viewpoint gives you a panoramic perspective of the entire pitch, allowing you to see team shapes, player movements, and tactical plays as they unfold. A low angle might feel dramatic, but it hides the bigger picture and gets blocked constantly by players running past.
Securing the Ideal Spot
Once you've scouted out a good location—ideally high up in the stands or on a gantry—your first job is to set up your tripod properly. Pitches and spectator areas are rarely perfectly level, so take a moment to adjust the tripod legs until the bubble level on your fluid head is dead centre. This is a crucial little step that guarantees your panning shots will be perfectly horizontal, avoiding that distracting tilted horizon that screams amateur footage.
A stable and level camera is the bedrock of professional footage. Rushing this step is a common mistake that can ruin your entire recording, no matter how good your camera is.
Making sure your tripod is secure and won't get knocked over is just common sense, but it’s amazing how often people forget. If you're on uneven grass, press the tripod feet firmly into the ground. If you're on concrete, spread the legs wide enough to create a stable base. This small detail prevents wobbles and potential disasters.
Dialling in Your Camera Settings
Before you even think about hitting record, you need to get your camera settings right. Nail these, and you'll get footage that's sharp, smooth, and ready for analysis or a killer highlights package. It’s always best to set these manually to stop the camera from changing them mid-game and ruining a crucial moment.
Here are the key settings to lock in:
- Resolution: Stick with 1080p (Full HD). Yes, 4K is tempting, but the file sizes are absolutely enormous and need a beast of a computer to edit. 1080p provides excellent quality that’s perfect for online platforms and analysis.
- Frame Rate: Set this to 50 frames per second (fps). This is a total game-changer. It not only produces incredibly smooth video but also lets you create high-quality, silky-smooth slow-motion replays of key moments without any stuttering.
- Shutter Speed: A good rule of thumb is to simply double your frame rate. So, for 50fps, a shutter speed of 1/100th of a second is ideal. This will keep fast-moving players sharp and minimise motion blur, making sure every crucial touch is captured with crystal clarity.
Mastering these core settings is fundamental. For those using more advanced gear, you can dive deeper into our guide on how to set up the XbotGo Chameleon camera for football for more specific tips on automated camera systems. By taking the time to position your camera thoughtfully and configure your settings manually, you’re setting yourself up for a truly professional recording.
Mastering In-Game Filming Techniques
You’ve got your camera in the perfect spot and your settings are dialled in. Now the real fun begins. Once that first whistle blows, you need to stop thinking like a fan and start thinking like a camera operator. Your job is to tell the story of the game with smooth, deliberate movements that look professional and are easy on the eye.
The most common mistake is reacting to the play instead of anticipating it. Frantically jerking the camera to chase the ball just doesn't work. The real trick is learning to read the game. Watch how a team is building from the back, see the winger making a run, and start your pan before the pass is even made. That anticipation is what separates shaky, amateur footage from fluid, broadcast-style video.
Panning and Zooming with Purpose
Your tripod’s fluid head is your absolute best friend here. The key to a silky-smooth pan is to move from your hips and core, keeping your arms steady as you guide the camera. It’s a full-body movement, not a quick twist of the wrists. A good rule of thumb is to keep the ball and the main group of players in the middle third of your frame, always leaving them a bit of space to run into.
When it comes to the zoom, less is almost always more. Constantly zooming in and out is incredibly distracting for the viewer and screams "amateur." For most of the match, keep your shot wide. This gives you that brilliant tactical view that coaches and analysts love.
Only zoom in for specific, meaningful moments:
- Set-Pieces: A slight zoom for a corner or free-kick lets you capture the jostling and movement in the box.
- Penalties: Get a tighter shot on the penalty taker and the goalkeeper. It adds a fantastic layer of drama.
- Key Moments: A brief zoom can highlight a brilliant piece of individual skill or a crunching, game-changing tackle.
As soon as the moment's over, smoothly pull back out to your wider, tactical view. This discipline is what will make your footage look professional and watchable.
Framing the Action and Capturing the Full Story
How you frame the match is just as critical as following the ball. For a corner kick, for example, don’t just point the camera at the player taking it. Widen the shot to include all the players in the penalty area—that’s where the action is about to unfold.
Here’s another pro tip: keep recording during stoppages. It’s tempting to hit the stop button for an injury, a substitution, or when players are arguing with the referee. Don't. These moments are part of the game's narrative and add context and drama to the final cut.
Think of yourself as a storyteller. Capturing the pauses, the frustrations, and the tactical chats on the sideline provides a richer, more complete picture of the game than just following the ball for ninety minutes.
Today's technology makes this more achievable than ever. More drones are used for aerial shots in UK football recordings, offering perspectives that used to be reserved for major TV studios. Filming matches in HD, using a stable tripod, and manually adjusting focus for fast-paced play has become standard advice across amateur UK football. For more on these trends, you can explore the latest data on football in the UK from Statista.
Of course, if you want to automate the whole process, AI-powered cameras are becoming a hugely popular option. These smart cameras can track the play for you, though manual operation will always give you the most creative control. If you're curious about how they work, check out our comprehensive Veo camera review to see if that kind of setup fits your needs. By combining smooth technique with smart framing, you'll be well on your way to recording football like a pro.
Common Mistakes to Avoid When Filming
Even if you have the best camera gear in the world, a few simple mistakes can completely ruin your match footage. Knowing what not to do is just as important as knowing what to do. Think of this as your personal checklist for sidestepping the common slip-ups that scream "amateur footage."
Let's start with the biggest giveaway: shaky footage. There's really no excuse for this. A high-quality, sturdy tripod isn’t just a nice-to-have; it's an absolute must if you want to record football matches properly. Trying to handhold a camera for ninety minutes is a recipe for disaster. You'll end up with a wobbly, unwatchable mess.
Stop Chasing the Ball
Another classic error is frantically 'chasing the ball'. This is what happens when the camera operator reacts late to the play, causing jarring, rapid pans that just make you feel dizzy.
The key is to anticipate, not react. Watch how the play is developing and start your smooth, deliberate pan just before the pass is even made.
The best camera work is almost invisible. It guides the viewer's eye without drawing attention to itself. The goal is fluid, predictable movement that feels natural and controlled, not chaotic.
It’s a skill that definitely takes some practice, but once you master it, the quality of your recordings will instantly jump a level. This technique keeps the action centred and makes the whole viewing experience far more enjoyable.
Managing Exposure and Light
Failing to manage your camera’s exposure can also sabotage your footage. Leaving your camera on auto-exposure is a huge gamble. The moment the sun moves behind a cloud or starts to set, an automatic setting will cause the brightness to flicker distractingly.
Take control and set your exposure manually. This avoids two major issues:
- Overexposed Pitches: On a bright, sunny day, an auto setting can easily 'blow out' the highlights. The green pitch turns into a washed-out, white mess.
- Grainy Low-Light Footage: For evening games or on overcast days, an auto setting might crank the ISO up way too high, leaving you with dark, grainy, and unusable video.
Setting it manually gives you a consistent, professional look from the first whistle to the last.
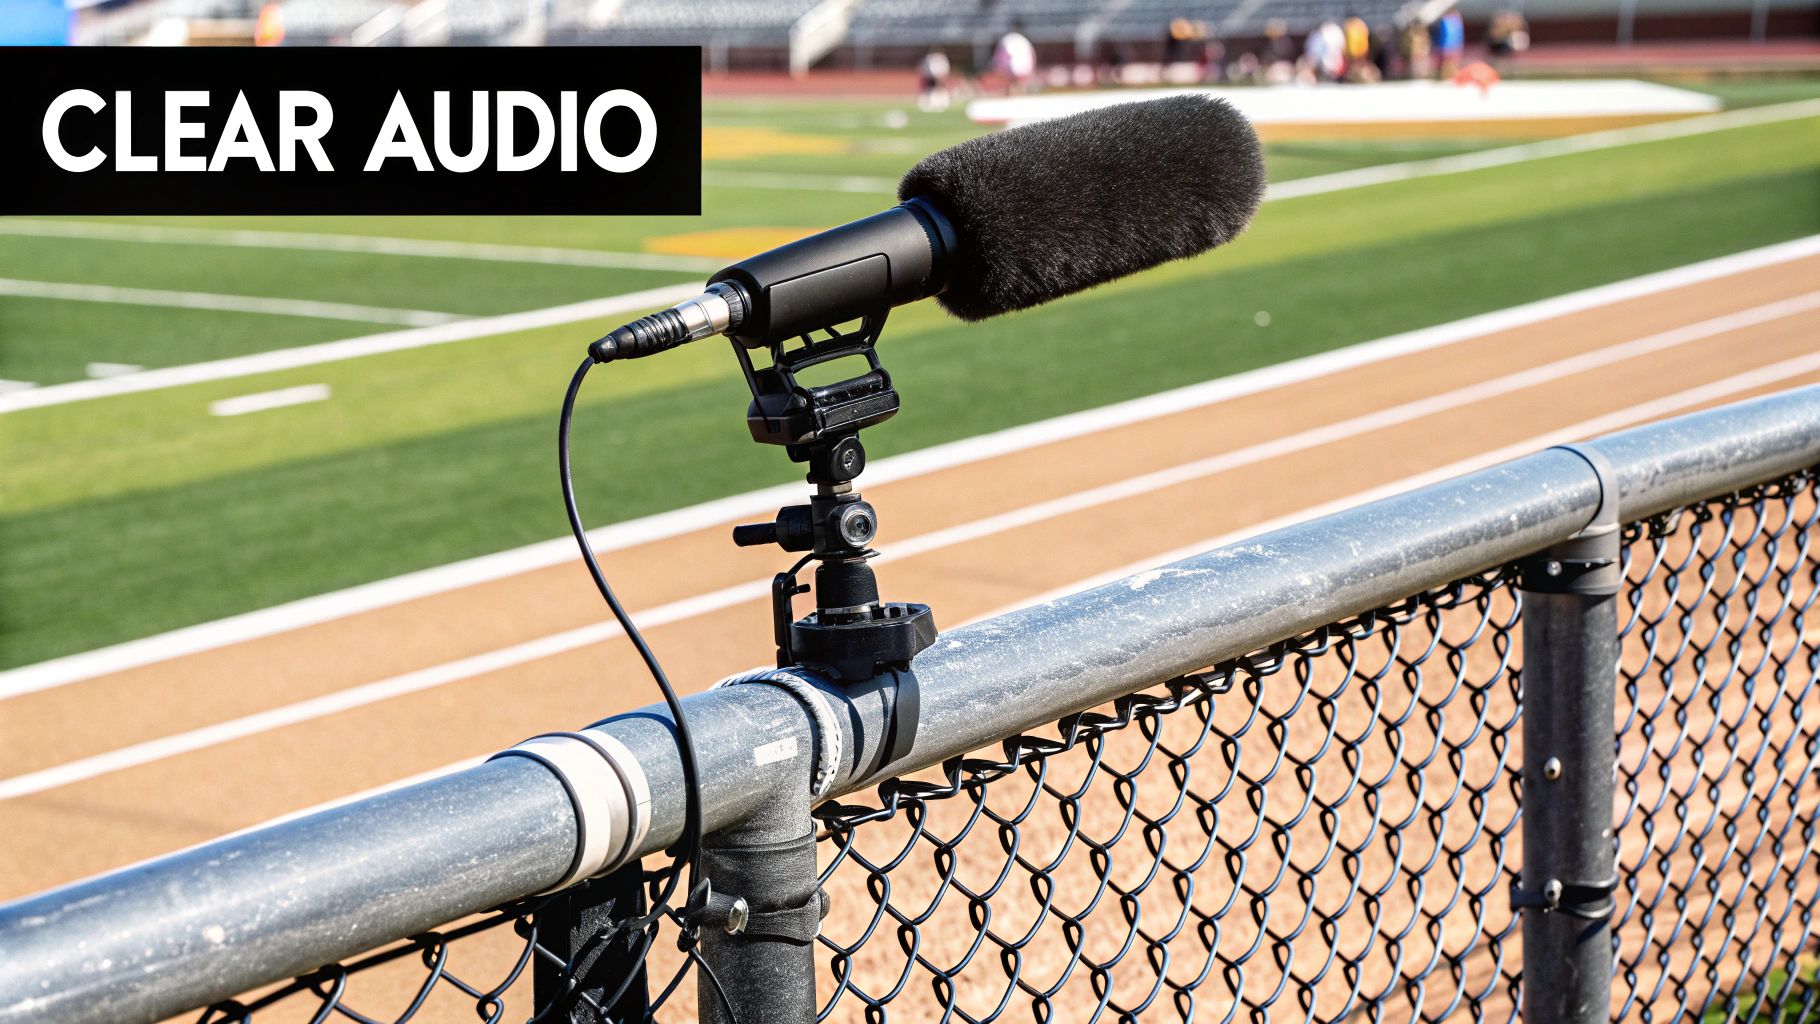
Capturing Clear Game Audio
Finally, do not rely on your camera's built-in microphone. These tiny mics are designed to pick up sound from every direction, which means they are brilliant at recording one thing above all else: wind noise. The result is a constant, irritating rumble that completely drowns out the actual sounds of the game.
The solution is an external shotgun microphone with a windshield (often called a "dead cat"). This setup is directional, so it focuses on the sounds coming from the pitch—the kick of the ball, the ref’s whistle, and the players' calls. It captures that rich, authentic audio that really brings your footage to life and makes the final video feel so much more immersive.
Editing Your Match Footage for Impact
The final whistle has blown, but your job isn't quite done yet. You’ve got a memory card full of raw footage, and that’s just the starting line. The real magic happens in the edit.
This is where you take ninety minutes of uncut video and turn it into something coaches, players, and parents will actually sit down and watch. Don't be intimidated if you've never touched editing software before; the basics are much simpler than you think.
First, get organised. Straight after a match, you’re looking at one or two massive video files. The best way to tackle this is to watch the whole game back and snip out every important moment. Goals, near misses, crucial tackles, great saves, bits of skill—slice them all into their own short clips. Doing this up front makes the rest of the process a hundred times easier.
Creating a Compelling Highlights Package
With your key moments all clipped up, it’s time to build your highlights reel. The golden rule here? Be ruthless. Nobody wants to watch five minutes of sideways passes in midfield. Stick to the action.
Start by dropping your best clips onto a timeline in chronological order. A good highlights package should tell the story of the match as it happened, hitting all the most exciting points along the way. Make sure to trim the fat from each clip, too. Start it just a second or two before the action kicks off and cut it as soon as the play is over.
A great highlights package tells the story of the game in just a few minutes. It's about impact, not duration. Aim for a final video that is concise, fast-paced, and leaves the viewer wanting more.
Getting this right is a huge part of learning how to record your football matches like a pro. It’s the final product that really sells your work, and a slick edit can make even a simple recording look top-class.
Adding Simple Professional Touches
Once you've got the basic cut sorted, a few simple tweaks can make your footage look way more polished. Most free editing software can handle these jobs without any fuss.
- Colour Correction: This sounds technical, but it’s often just a couple of sliders. A quick colour boost can make a massive difference. Nudging the saturation up a little will make the green of the pitch pop and the kits look more vibrant, giving your video that professional, broadcast-quality feel.
- Basic Graphics: A simple scoreboard graphic is a brilliant touch. It gives the viewer instant context and makes your video look instantly more official. You can create a basic image with the team names and just update the score graphic for each goal.
- Audio Balancing: That external microphone you used has hopefully captured some great on-pitch sounds, but it’ll need balancing. You’ll want to lower the volume during the quiet spells and make sure the roar of the crowd after a goal isn't completely deafening. If you’ve recorded commentary, mix it so it sits clearly above the background atmosphere.
It’s these small details that really add up. They turn raw footage into a final product that looks and sounds the part. The edit is your chance to shape the story, spotlight the best performances, and create something genuinely valuable for analysis or just as a great memory for the team.
On-the-Day Filming Questions, Answered
Even with the best plan, you’ll always have questions pop up when you're standing on the touchline. Here are some of the most common ones asked about recording football matches, with straight-to-the-point answers to help you get it right.
What’s the Best Camera for Filming a Football Match?
There’s no single ‘best’ camera out there. It really boils down to your budget and needs. A modern mirrorless camera or a DSLR with decent video specs, like the ability to shoot at 1080p at 50fps, is a brilliant place to start for top-notch quality.
A dedicated camcorder is another fantastic option. They’re built for long recording sessions and usually have much better battery life. Whatever you choose, look for key features like manual controls, an external microphone input, and reliable power options. Steer clear of using a smartphone for your main wide shot; the digital zoom will kill your video quality.
How High Should I Set Up My Camera?
To get that professional, tactical view, you need to get up high. Aim to get your camera at least 3-5 metres (10-15 feet) above the pitch. You can usually manage this with a tall tripod, but if the ground has stands or a gantry, definitely use them.
That extra height is everything. It lets you see over the players' heads, so you can capture the team’s shape, tactical movements, and the overall flow of the game. Without it, your view will just get blocked by players on the near touchline.
Should I Bother Recording in 4K or Just Stick to 1080p?
For almost everyone, recording in 1080p at 50 frames per second (fps) is the perfect sweet spot. It delivers crisp, clear quality, keeps your file sizes manageable, and means you won’t need a supercomputer just to edit the footage later.
While 4K offers incredible detail, the file sizes are massive. They’ll eat up your memory cards in no time and can bring your editing process to a grinding halt. Unless you have a very specific reason for 4K and the high-end gear to handle it, a great 1080p recording is more than enough for professional-looking results.
How Do I Stop the Camera from Going Blurry?
This is a classic problem, especially if you’re a one-person crew. Modern autofocus systems get confused easily with so many players running around. They start ‘hunting’ for focus, which means your shot could go blurry right at a crucial moment. The pro move here is to switch to manual focus.
Before the game kicks off, just set your focus on the centre circle. As long as you don't go wild with the zoom, your wide tactical view will stay sharp across the entire pitch. For a single-camera setup, it's easily the most reliable way to work.
At SoccerWares, we're passionate about supporting every aspect of the beautiful game, from kitting out fans to equipping players for peak performance. Whether you're analysing footage to improve your team's tactics or sharing highlights with supporters, having the right gear makes all the difference. Explore our collection of training essentials and fan apparel at https://soccerwares.com.